Absolutely! You can add your own custom proxy pool directly within Private Tabs.
To get started, just follow these steps in the app:
1. Click on the Settings menu.

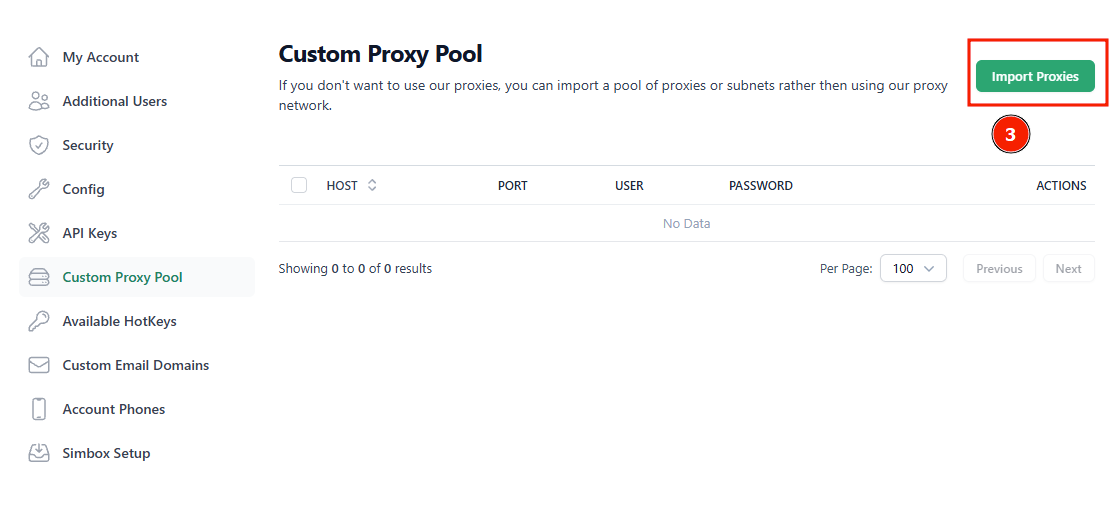
2. Click on Custom Proxy Pool.

3. Click on Import Proxies.
4. In the “Select Format” section, choose your preferred format. The recommended default is:host:port:user:password.
5. Paste your proxies into the input field, ensuring there is only one proxy per line to avoid any issues.

Once you've completed the steps, click Import to finish adding your proxies.
Now that your custom proxies are in the Custom Proxy Pool, you can assign them to your account profiles. To do that, follow these steps:
1. Go to the Account Profiles page.
2. Select the profiles you want to update.
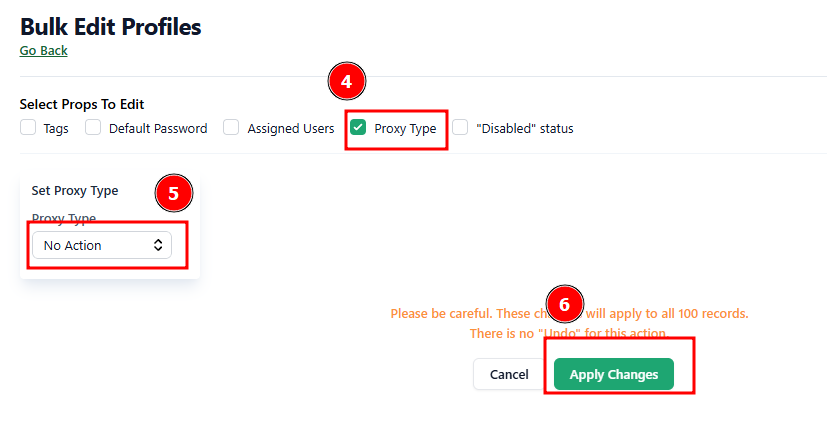
3. Click on Bulk Edit (you can edit up to 100 profiles at a time).

4. Click on Proxy type checklist.
5. Select Proxy List on the proxy type down list
6. Click on Apply Changes to finalize
That’s it! If you need any help or would like a quick screen share for guidance, don’t hesitate to reach out—we’re happy to assist!
Was this article helpful?
That’s Great!
Thank you for your feedback
Sorry! We couldn't be helpful
Thank you for your feedback
Feedback sent
We appreciate your effort and will try to fix the article